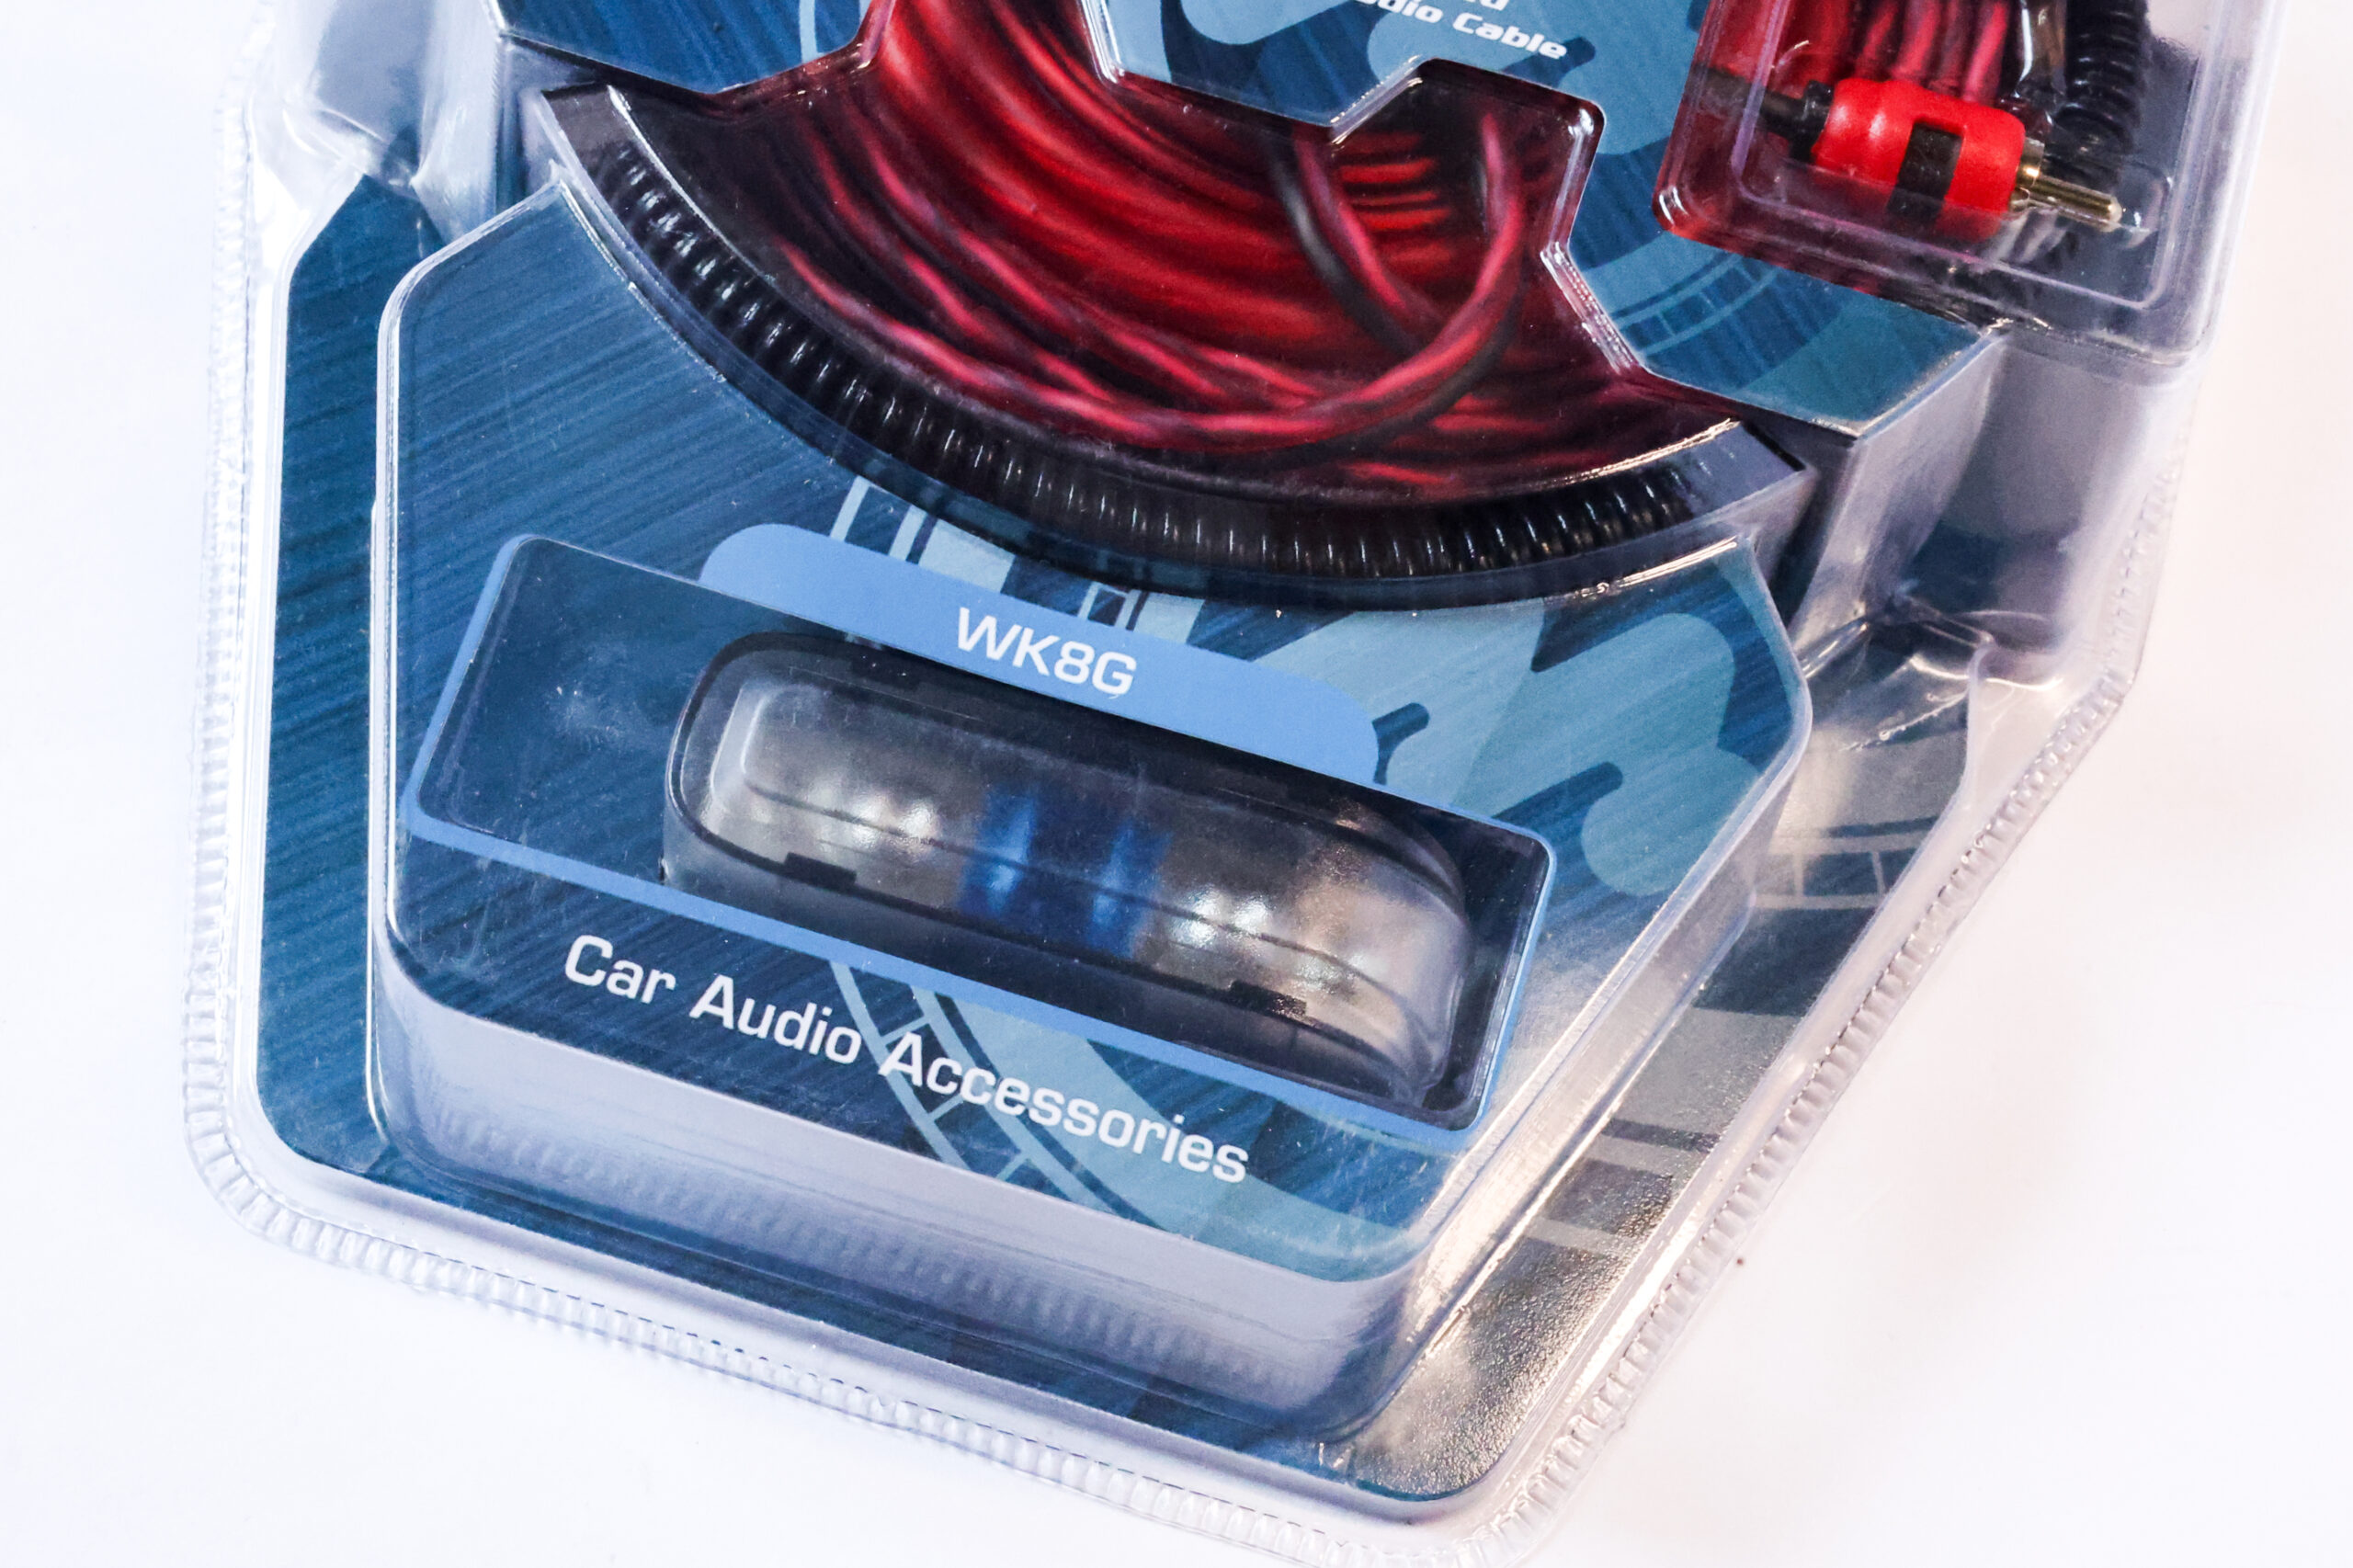
Wiring an 8-gauge car amplifier involves connecting the amplifier to the power source, ground, and speakers properly. Here is a step-by-step guide on how to wire an 8-gauge car amplifier:
Tools and Materials Needed:
- 8-gauge power wire (for the power connection)
- 8-gauge ground wire (for grounding)
- RCA cables (for audio signal input)
- Speaker wire
- Inline fuse (appropriate amperage for the amplifier)
- Crimp connectors, wire strippers, and a wrench
- Power distribution block (if needed)
- Electrical tape or zip ties
Steps for Wiring an 8-Gauge Car Amplifier:
- Disconnect the car battery:
- Before working with any wiring, disconnect the negative terminal of the car battery to avoid accidental shorts or electric shocks.
- Choose the amplifier’s location:
- Select a secure location for the amplifier where it can be safely mounted. Ensure it has good airflow for cooling.
- Run the power wire (8-gauge):
- Run the 8-gauge power wire from the car’s battery to the amplifier. The power wire should be routed through the firewall, ensuring it doesn’t interfere with moving parts or heat sources.
- Use a rubber grommet or firewall pass-through if necessary to avoid damage to the wire when passing through the firewall.
- Attach an inline fuse (with the correct amperage rating) close to the battery, ensuring the fuse will protect the wire from overcurrent.
- Connect the power wire to the amplifier:
- On the amplifier, there will be a power terminal (often labeled “+12V” or “B+”). Attach the power wire to this terminal securely, ensuring a tight connection to prevent any loss in power.
- Run the ground wire (8-gauge):
- Grounding is crucial for proper amplifier function. Run the 8-gauge ground wire from the amplifier to a clean, unpainted metal surface on the car’s chassis (preferably near the amplifier).
- Sand the area around the ground terminal to ensure a clean metal-to-metal contact for the best ground connection.
- Connect the ground wire to the amplifier:
- Attach the ground wire to the amplifier’s ground terminal (often labeled “GND”) and tighten the connection. Ensure the ground connection is solid and free of any paint or corrosion.
- Connect the RCA cables (for audio signal):
- Connect the RCA cables to the amplifier’s RCA input terminals and to your head unit’s output (or other source of audio). Ensure that the RCA cables are securely plugged in and not too tight to avoid damaging the connectors.
- Wire the speakers to the amplifier:
- Run the speaker wire from the amplifier’s speaker terminals to the speakers. Ensure you match the positive (+) and negative (–) terminals of the amplifier to the corresponding terminals on the speakers.
- Depending on the amplifier and speaker setup (mono or multi-channel), you may need to wire the speakers in series or parallel.
- Reconnect the car battery:
- Once all wiring is completed, reconnect the car battery’s negative terminal.
- Test the amplifier:
- Turn on your car’s audio system and test the amplifier. Ensure all connections are working properly, and there is no distortion or overheating.
Tips:
- Use wire crimpers and heat shrink tubing to make secure, reliable connections.
- Keep the power wire as short as possible to minimize power loss.
- Be cautious when working with power wiring. Always ensure the fuse is in place before powering on the system.
By following these steps, you’ll have a properly wired 8-gauge car amplifier ready to deliver high-quality sound to your car audio system!


Reviews
There are no reviews yet.